Bunny Backpack Tutorial
Nothing is better than an easy-to-use drawstring backpack...Except one that looks like a bunny! BONUS: This is a perfect project for kiddos learning to sew (or as a gift to a kiddo, or to use yourself...)
P.S. The drawstring threader tool I mentioned in the video is called an Easy Loop Turner! The brand Dritz makes them and they are BY FAR my favorite sewing room tool!
Video Tutorial:
Instructions
1.Working with the bunny ear-shaped pieces, place two with right sides of fabric facing and edges lined up, pin. Repeat with remaining bunny ear-shaped pieces.
2.Sew around long edges of ear-shaped pairs, leaving the short edge (base of the ear) unsewn. Reverse stitch at beginning and end.
3.Clip excess fabric from tip of sewn pieces and cut from seam edge toward stitch line, every ¼-inch around curved sections of the pieces. Turn both right side out.
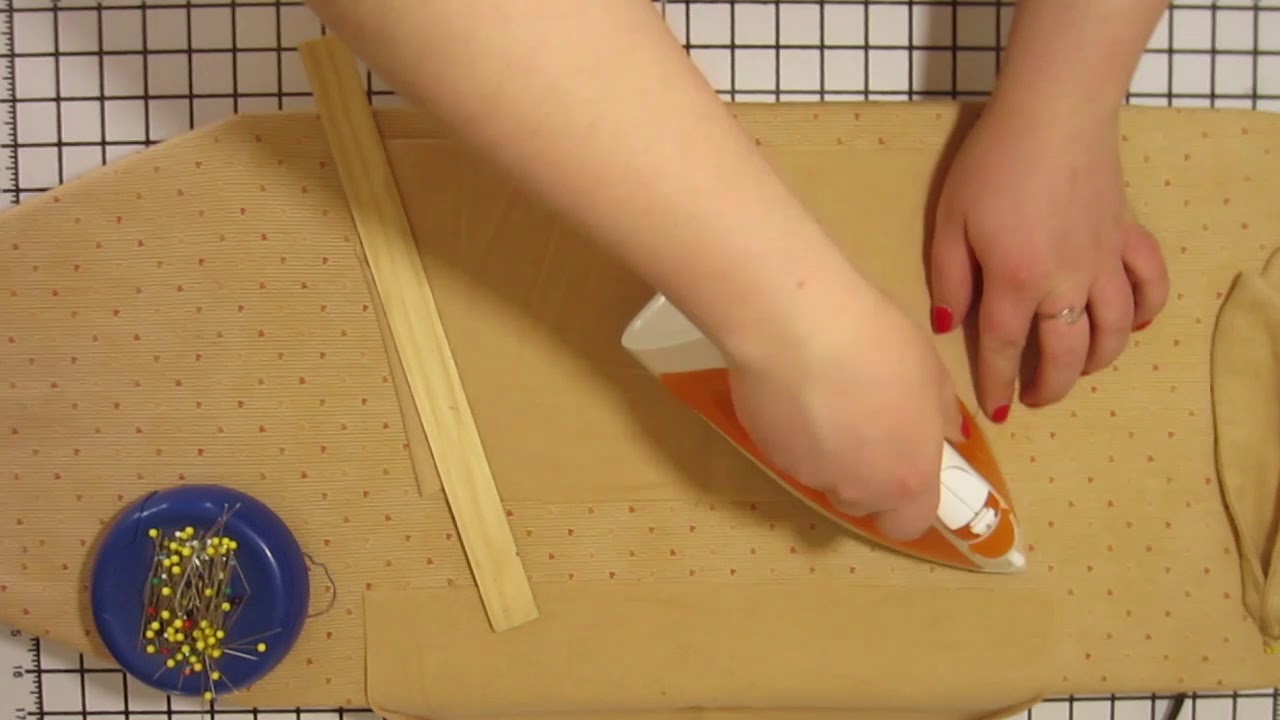
4.Press these ear-shaped pieces flat, with seam lines along edges.
5.Fold both ear-shaped pieces at the unsewn edge, so sewn edges meet in the middle and raw edges line up with each other. Press folds, pin.
6.With one rectangular piece, mark ½ inch in from one corner along a long edge and 4 inches away from the same corner on the short edge. Fold over at these marks, wrong sides of fabric facing, to make a triangle fold. Press fold. Then fold this triangle piece over itself one more time to encase the raw edge, press to hold fold.
7.Repeat step 6 with the opposite corner, along the same long edge.
8. Repeat steps 6-7 with second rectangular piece.
9.Topstitch along inside fold of triangles folded in steps 6-8 to hold folds in place.
10. Fold the long edge between the triangle folds down one inch, with wrong sides of fabric facing each other. Press to hold fold. Fold over itself one more time to encase raw edge, press. Repeat with second rectangular piece.
11. Topstitch along fold furthest away from fabric edge to make a tube, reverse stitching at beginning and end of stitch line. Repeat with second rectangular piece.
12. Pin ear-shaped pieces to the right side of one remaining large fabric piece, along the short raw edge, about 4 inches in from each side. Folded side of ear pieces should be facing away from right side of large fabric piece.
13. Pin one rectangle piece to the same edge as the ears, matching longest edge of rectangle piece to short edge of largest piece and right sides of fabric facing each other. Pin in place.
14. Repeat step 13 with the second rectangular piece and the second remaining largest piece.
15. Sew pinned edges. Press seam allowance behind rectangular pieces.
16. Fold one webbing piece in half and place with the raw edges on the raw edge of largest piece and fold facing center of piece, on the right side of the fabric. Pin in place just above the curved corner. Repeat with second webbing piece on opposite side of fabric piece.
17. Place sewn fabric pieces together, right sides of fabric facing, with all edges lined up. Pin.
18. Sew raw edges of bag, stopping just below the tubes from step 11. Reverse at each end.
19. Snip around curved edges, as done in step 3. Turn right side out and press flat.
20. Hand-sew the bunny tail onto the main bag, centered, on the side with the ears on it. (The tail has an elastic loop on it that can be sewn through.)
21. Thread one paracord/rope piece through one webbing loop, into the same side of one tube at the top of the bag, and back through the other tube at the top of the bag. Tie the two ends of this piece together—they should both now be on the same side of the bag.
22. Repeat step 21, starting at the opposite end of the bag.
Project PDF Pattern
Want a PDF pattern for this project? Click the button, below, to download the pattern and make even more--out of any fabric color you like!
New to using our PDF patterns? Learn how to assemble and use the downloadable pattern by clicking here.