Petite Pouch Tutorial
Those mini charm square collections in quilt stores are just soooo cute!
But, what to use them for?
Look no further! This fun and easy project even has an option for a hidden second zipper pocket!
Video Tutorial:
Written Directions
OPTION 1 SEWING DIRECTIONS: With hidden front pocket
NOTE: Unlike most of our patterns, the seam allowances are 1/4" in order to decrease number of bulky seams in this project.
- Sew all but one of pieces A together into pairs, with right sides of fabric facing, along one edge of each square pair. Mix and match fabric prints, with top of fabric prints facing the same direction if applicable. Press seam allowances behind the darker fabrics.
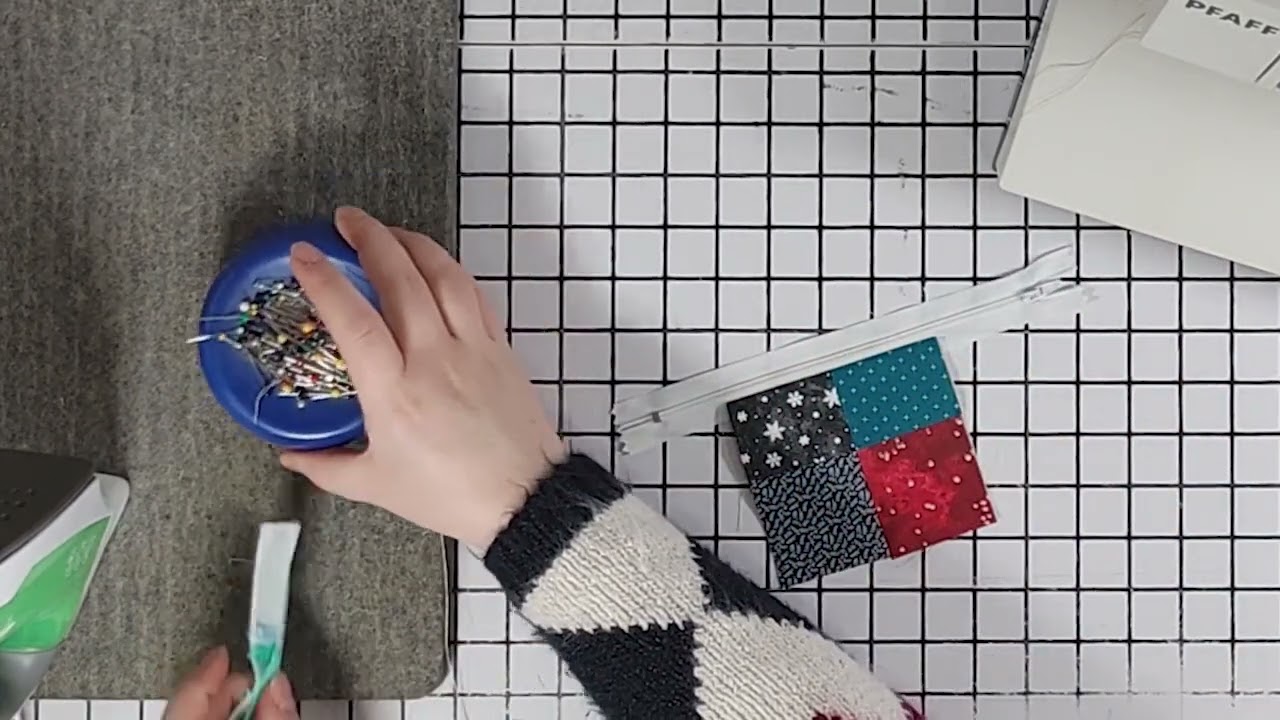
- Assemble one 4-square piece using 2 pairs sewn in step 1. Take care to match seam lines and sew along one long edge. Press seam allowance to one side.
- Place 4-square piece on piece C, lining up three edges. Trim fourth edge to match. (Fourth edge will be the top of hidden pocket.)
- Center shorter zipper along the trimmed edge of 4-square piece, with front of zipper facing right side of fabric, pin. Pin piece C on back side of zipper, with right side of fabric facing zipper and all edges aligned with edges of 4-square piece. Sew zipper in place, close to zipper teeth, then press all fabrics away from zipper.
- Select a pair from step 1 to become a zipper cover/flap. Cut in half, lengthwise, from one short end to the other short end. Fold in half, lengthwise, with wrong sides of fabric facing each other. Press to hold fold.
- Pin folded piece to the front of the zipper, centered on zipper, with long raw edges on unsewn side of zipper. Pin another pair from step 1 on top of folded piece, with right side of fabric facing zipper, centered. Pin a short edge of piece D on back of zipper, right side facing zipper, centered on same zipper edge. Sew through all fabric layers, close to zipper teeth. Press all fabrics away from zipper, except the small, folded piece--press this piece toward zipper.
- Fold remaining short raw edge of piece D down, behind pocket, to meet raw edge of piece C opposite of zipper, right sides of fabric facing. Line up all edges, including the edge of the 4-square piece, and sew another pair to this edge, through all layers of fabric, with right side of pair fabric facing right side of 4-square piece and with seam lines matching. Press seam allowance away from pocket.
- Sew another pair from step 1 onto the edge furthest away from the zipper, aligning seam lines with right sides of fabric facing. Press seam allowance to one side. Repeat this process three more times.
- Sew two pairs from step 1 together along one short end with right sides of fabric facing. Press seam allowance behind darker fabric. Sew another pair onto one short end of this larger piece in a similar manner; repeat this process once more to end up with a chain of 8 squares.
- Repeat step 9.
- Pin one strip of squares to one long edge of piece with zipper, taking care to line up seam lines, right sides of fabric facing. Pin second long strip to other long edge of zippered piece, then unzip zipper halfway. Sew these strips in place and press seam allowances away from pocket.
- Fuse interfacing piece to wrong side of pieced material.
- Fold remaining single piece A in half, right sides of fabric facing. Sew along long edge, reversing stitch at beginning and end.
- Turn tube right side out, press flat with seamline along one edge, fold in half to match remaining raw edges, and press again to hold fold.
- Pin this loop on the right side of the pieced material along long edge, about 1.5" away from a short edge, with raw edges matching and folded edge toward center of the piece.
- Center longer remaining zipper along a short edge of the pieced material, with the front of the zipper facing the right side of the fabric; pin. Center piece B on the back side of zipper, centered, with right side of fabric facing back of zipper. Sew through all fabric layers, close to zipper teeth. Press fabrics away from zipper. Topstitch, if desired.
- Fold piece B in half, right sides of fabric facing, to match remaining short edge with unsewn edge of zipper. Center on zipper and pin in place. Flip the project over and do the same with the pieced material, right side facing front of zipper. Sew through all fabric layers, close to zipper teeth. Press fabrics away from zipper. Topstitch, if desired.
- With piece B folded in half, right sides of fabric facing, pin along raw edges. Do the same with the pieced material, then un-zip the zipper halfway and fold the zipper in half along the zipper teeth so that each side of the zipper tapes are lying flat on top of each other.
- Sew along both pinned edges, from folded edge to folded edge and across zipper, leaving one 3" hole in the middle of one edge of piece B. Reverse stitch at either side of hole. Trim excess zipper length if applicable.
- Open one corner and re-fold with side-seam in the center, smoothing flat. Make a mark 1.25" away from the corner point along both folded side edges, drawing a straight line across the corner between each mark. Sew along this line, reverse stitching at beginning and end.
- Repeat step 20 with 3 remaining corners.
- Reach into hole left in step 19 and through half-open zipper to turn project right side out. Poke out corners.
- Turn raw edges into hole about 1/4" and topstitch along edge to close hole, reverse stitching at beginning and end. Push lining into pouch and close zipper.
OPTION 2 SEWING DIRECTIONS: No hidden front pocket
NOTE: Unlike most of our patterns, the seam allowances are 1/4" in order to decrease number of bulky seams in this project.
- Sew all but one of pieces A together into pairs, with right sides of fabric facing, along one edge of each square pair. Mix and match fabric prints, with top of fabric prints facing the same direction if applicable. Press seam allowances behind the darker fabrics.
- Sew two pairs together along one short edge with right sides of fabric facing. Press seam allowances behind darker fabric. Repeat with another set of two pairs, and another, until there are eight chains of four squares sewn together.
- Sew two chain pieces together along one long edge, matching seamlines, with right sides of fabric facing. Press seam allowance to one side. Sew another chain piece on to a long side of this sewn piece, matching seam lines, right sides facing, and pressing seam allowance to one side.
- Repeat the process in step 3 until all chains have been sewn together into a single piece that is four squares wide and eight squares long. Through the rest of these steps, this will be called the "pieced material."
- Fuse interfacing piece to wrong side of pieced material.
- Fold remaining single piece A in half, right sides of fabric facing. Sew along long edge, reversing stitch at beginning and end.
- Turn tube right side out, press flat with seamline along one edge, fold in half to match remaining raw edges, and press again to hold fold.
- Pin this loop on the right side of the pieced material, along one long edge, 1 square away from a short edge, with raw edges matching and folded edge toward center of the piece.
- Center longer remaining zipper along a short edge of the pieced material, with the front of the zipper facing the right side of the fabric; pin. Center piece B on the back side of zipper, centered, with right side of fabric facing back of zipper. Sew through all fabric layers, close to zipper teeth. Press fabrics away from zipper. Topstitch, if desired.
- Fold piece B in half, right sides of fabric facing, to match remaining short edge with unsewn edge of zipper. Center on zipper and pin in place. Flip the project over and do the same with the pieced material, right side facing front of zipper. Sew through all fabric layers, close to zipper teeth. Press fabrics away from zipper. Topstitch, if desired.
- With piece B folded in half, right sides of fabric facing, pin along raw edges. Do the same with the pieced material, then un-zip the zipper halfway and fold the zipper in half along the zipper teeth so that each side of the zipper tapes are lying flat on top of each other.
- Sew along both pinned edges, from folded edge to folded edge and across zipper, leaving one 3" hole in the middle of one edge of piece D. Reverse stitch at either side of hole. Trim excess zipper length if applicable.
- Open one corner and re-fold with side seam in the center, smoothing flat. Make a mark 1.25" away from the corner point along both folded side edges, drawing a straight lin across the corner between each mark. Sew along this line, reverse stitching at beginning and end.
- Repeat step 13 with 3 remaining corners.
- Reach into hole left in step 19 and through half-open zipper to turn project right side out. Poke out corners.
- Turn raw edges into hole about 1/4" and topstitch along edge to close hole, reverse stitching at beginning and end. Push lining into pouch and close zipper.
Project PDF Pattern
Want a PDF pattern for this project? Click the button, below, to download the pattern and make even more--out of any fabric color you like!