Mesh Shopping Bag Tutorial
Reusable shopping bags are the best! They are super handy, sustainable, and some even come with fun sayings on them. But, they can also be cheaply-made, rip easily, and are annoyingly floppy. So, we have reimagined and redesigned the typical shopping bag!
This tutorial will show you how to easily create a reusable bag that you will love! The materials used will make the bag sturdy enough for daily use, the bag will be able to stand up on its own, and the mesh material will even allow the bag to double as a stadium bag (if we are ever allowed to go to live events again).
We will be working with pet screen, or vinyl-covered mesh, and heavy-duty webbing for the handles. You will want to be using a universal sewing needle or a heavy-duty needle for this project.
- Black pet screen: Vinyl Coated Outdoor Fabric Black | JOANN
- Colored pet screen: MESH/ PET MESH (ezknit.com)
- Webbing: Strapworks Heavyweight Polypropylene Webbing
You will need:
- 0.5 yard pet screen. Trim to 18"x35"
- 3.5 yards webbing.
Lets get sewing!
Video Tutorial:
Written Instructions:
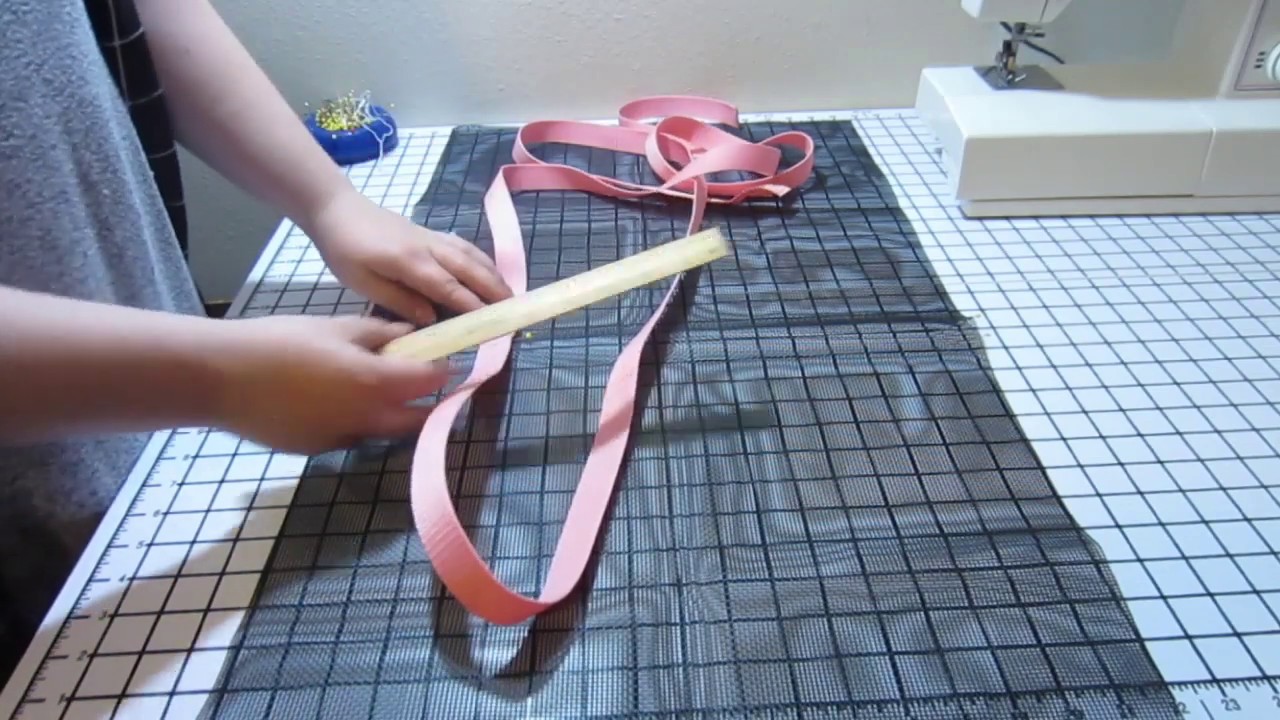
1. Working with the pet screen, cut a rectangle out of the middle of each long edge that measures 3in. by 5.5 in. The cut piece should look similar to this:
2. Fold the mesh piece in half, matching short edges, and use two pins to mark the center of the long side (on the fold). Then, lay the mesh piece flat.
3. Melt the cut ends of your webbing with a match or lighter to keep them from unravelling. Then, fold the piece to find the middle. Mark this with a pin.
4. Place the halfway mark on the webbing 1.5 in. in from the edge of the mesh piece, matching with the halfway pin on the mesh piece. Pin in place.
5. Match the raw edges of the webbing against each other and place them 1.5 in. in from the center mark on the opposite side of the mesh. Make sure that you don’t have any weird twists in your webbing.
6. Pin the straps in a straight line along the long edges of the mesh, placing the strap 4.5 in. away from the outer edge. Place your last pins on each side 1.5 inches away from the short edges.
7. Sew along both long edges of each strap, starting and stopping at your last pins (1.5 in. away from the short edges of the mesh piece).
8. Pin the large piece of mesh in half, right sides (the side with the handles) together, matching the short ends to each other and pinning along the two sides with the rectangle notches.
9. Sew along the 2 pinned sides, stopping above the notches on the fold. DO NOT sew around the rectangle notches near the bottom fold.
10. Reach your hand into the bag, forcing it to open and look somewhat like a bag should. This will cause the folded edge to flatten out and form a flat bottom. If you look at the open rectangular notches that were near this fold, you will see that the raw edges are meeting each other, perpendicular to the side-seam that we just finished. Pinch these raw edges together, right sides together, in a perpendicular line to the side-seam, and pin.
11. Sew these corners together.
12. Because we are using vinyl-coated mesh, we will not be using an iron because the vinyl will melt. Instead, the seams should fold similar to paper. Fold the side-seams flat, to one side.
13. Next, turn over 1 in. around the top opening of the bag, fold it toward the wrong side of the fabric (this should still be the outside of the piece you are working on unless you got excited and turned it right-side out). Pin in place and sew along the raw edge, about 3/4 in. away from the fold, all the way around the top.
14. Enjoy your cool new bag!